
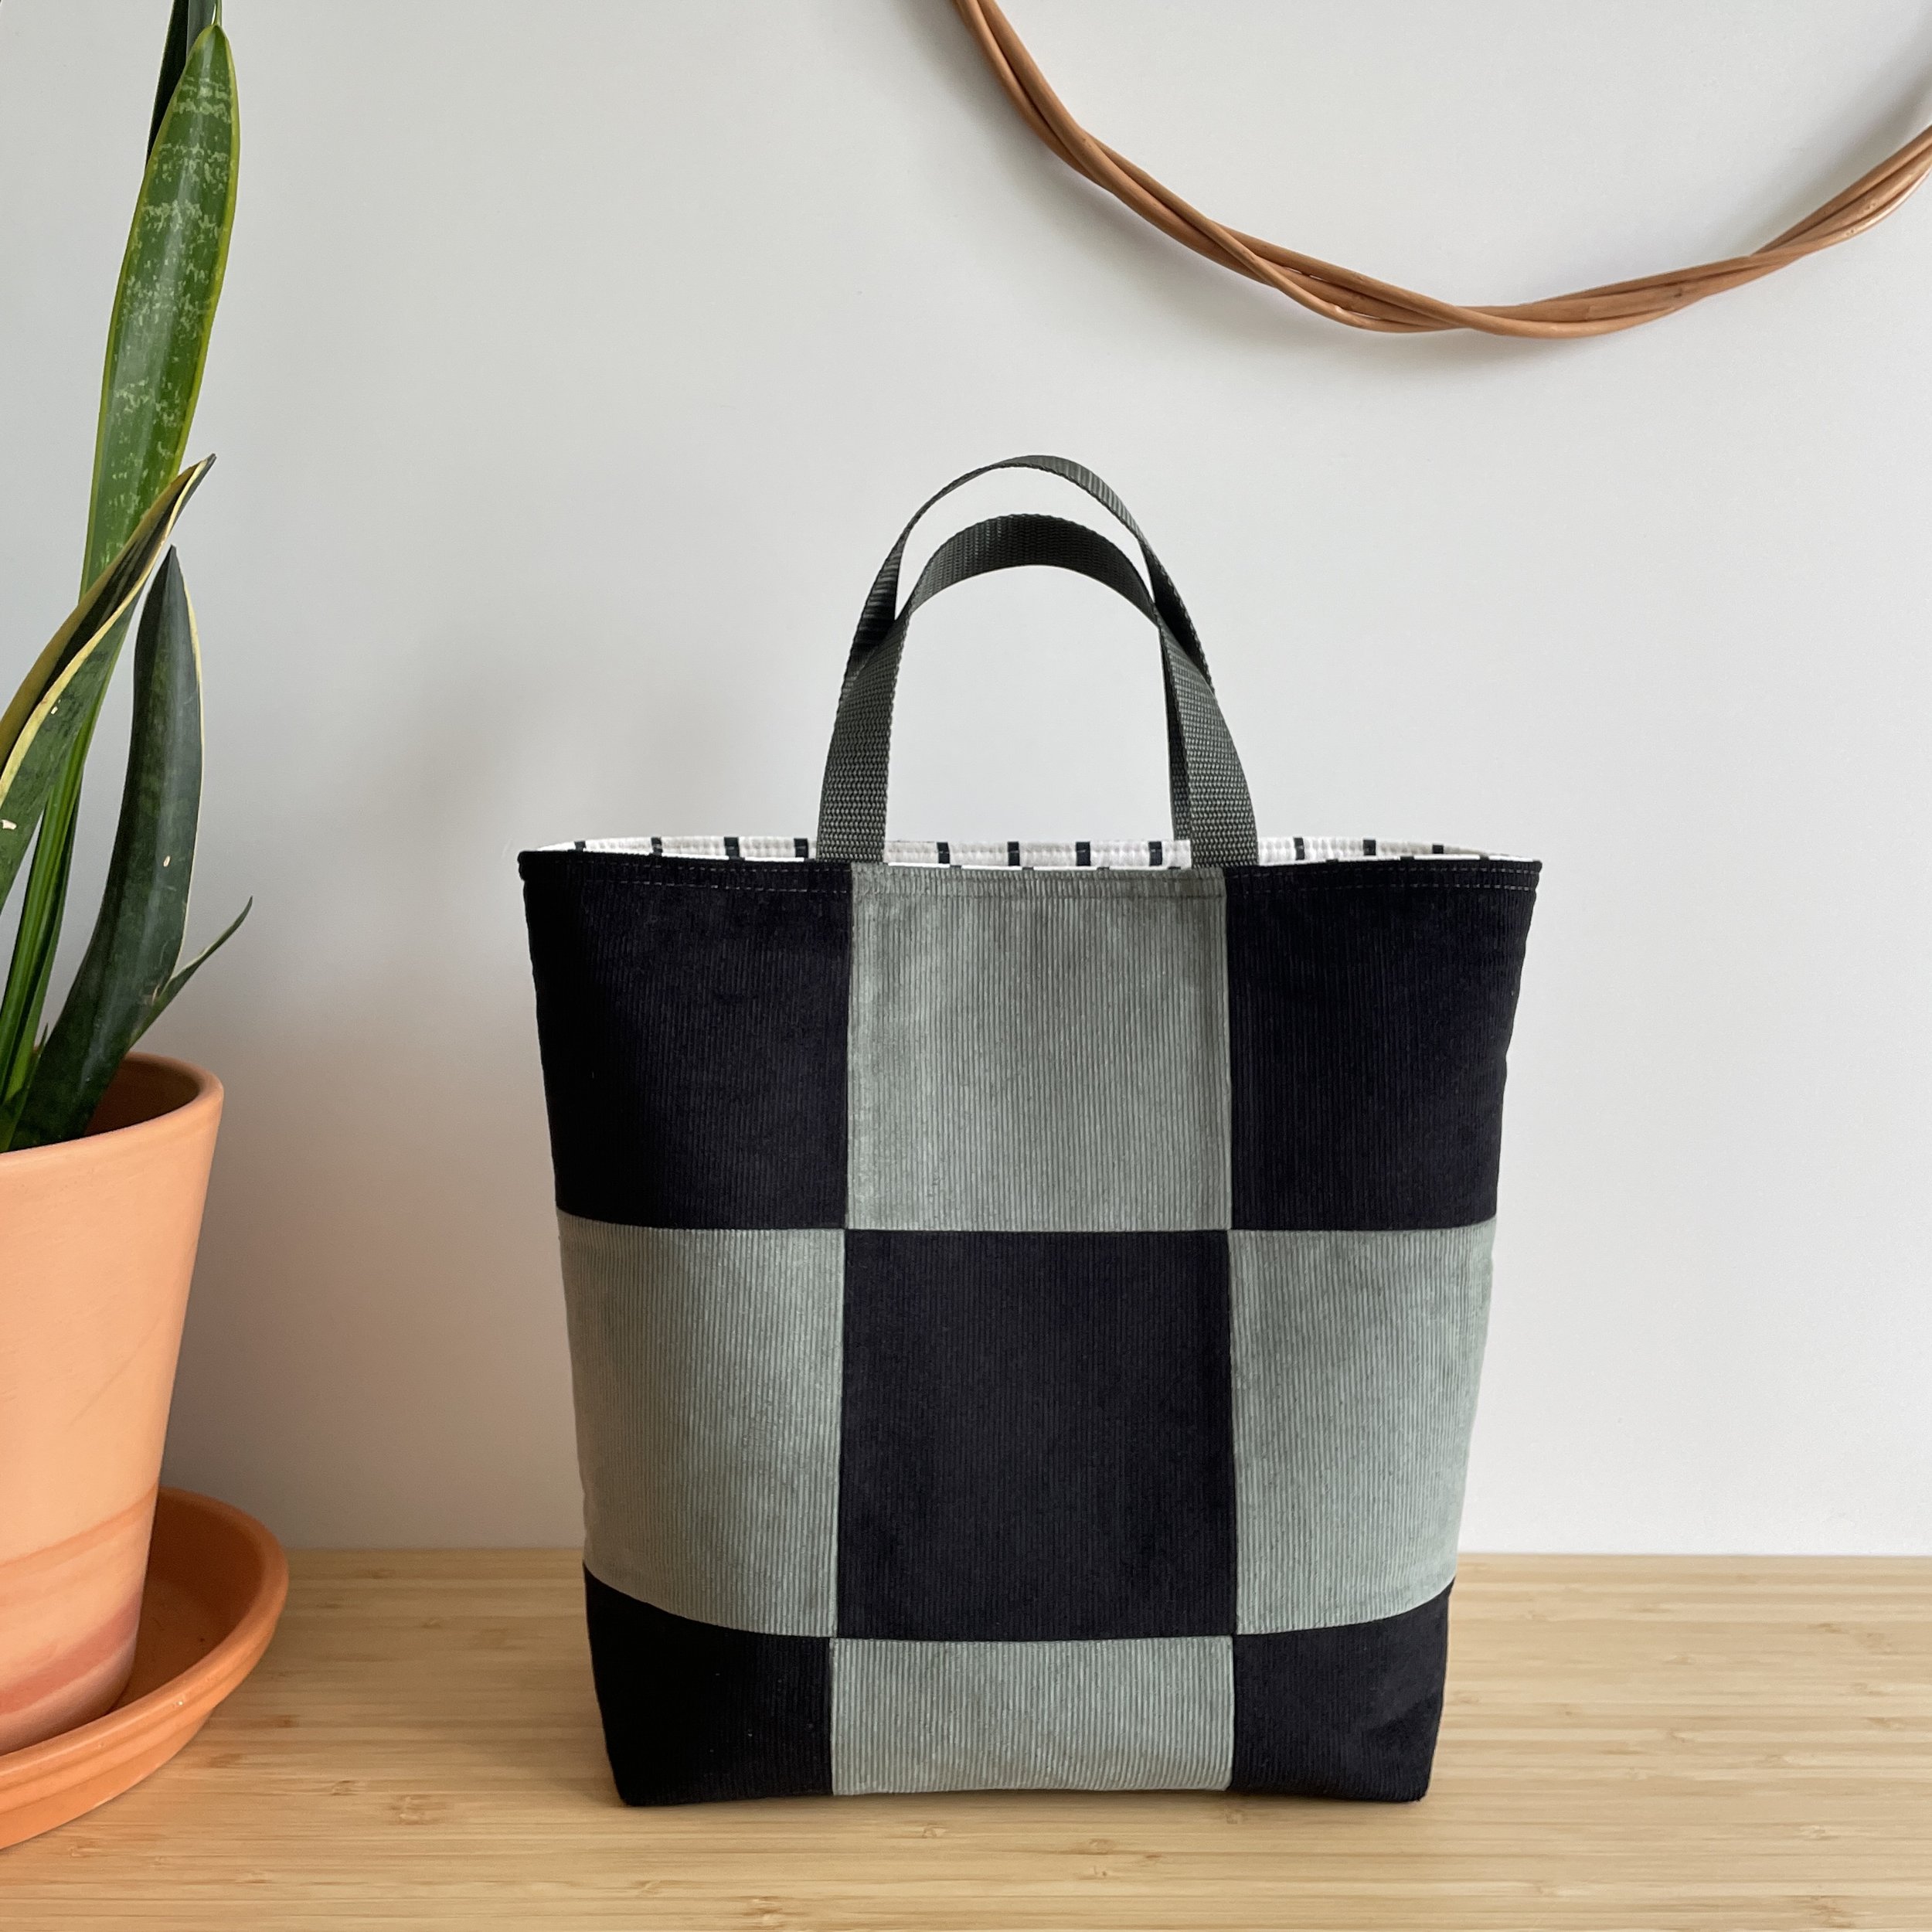
Colorful Patchwork Tote Bag
How to Sew a Colorful Patchwork Tote Bag from Fabric Scraps

Making a patchwork tote bag is a fantastic way to turn small fabric scraps into something both practical and eye-catching. This style of bag, built from diagonal strips of fabric, gives a lively, modern look while still being beginner-friendly. Start by choosing lightweight to medium-weight cotton fabrics in a variety of colors and prints. Mixing florals, polka dots, solids, and tiny prints creates visual interest, but try to repeat a few colors throughout so the design feels intentional rather than random. Wash, dry, and press all fabrics before cutting to prevent shrinking and to ensure clean, accurate seams. You’ll also need lining fabric, interfacing for structure, and extra fabric for the straps and top binding.
Begin by cutting fabric strips instead of squares. A good starting size is strips about 5–7 cm (2–3 inches) wide, with varying lengths. The slight variation adds charm, but keep the widths consistent so sewing stays easy. Lay the strips diagonally across a flat surface, overlapping them slightly until you form a large panel big enough for one side of the bag. Think of it like building a quilt top, but with angled lines. Once you’re happy with the arrangement, start sewing strips together, right sides facing, one pair at a time. Press each seam open or to one side as you go. Continue adding strips until you have a full patchwork panel larger than your desired bag piece. Make a second panel the same way for the other side.
After your patchwork panels are complete, trim them into neat rectangles. A common tote size is about 40 cm wide by 35 cm tall (16 x 14 inches), but you can adjust to your preference. Fuse interfacing to the back of each patchwork panel to give the bag body and durability. If you want extra softness and a quilted look, you can layer batting behind the patchwork and quilt straight lines along the seams before trimming. This step not only strengthens the fabric but also adds a professional, textured finish that helps the bag hold its shape.
Next, prepare the lining. Cut two rectangles from lining fabric the same size as your outer panels. If you’d like interior pockets, sew them onto one lining piece now before assembling the bag. To create the boxed bottom that gives the tote depth, sew the outer panels together along the sides and bottom, right sides facing. Repeat with the lining, but leave a small opening in the bottom seam so you can turn the bag right side out later. For the corners, pinch each bottom corner so the side seam and bottom seam align, forming a triangle, then sew across the tip about 5 cm (2 inches) from the point. Trim off the excess. Repeat for all four bottom corners (outer and lining).
For the straps, cut two long strips of fabric about 8–10 cm (3–4 inches) wide and roughly 55–65 cm (22–26 inches) long, depending on how long you want the handles. Fold each strip lengthwise, right sides together, and sew along the long edge. Turn them right side out, press flat, and topstitch along both long edges for strength and a neat finish. Position the straps on the right side of the outer bag, aligning the raw ends with the top edge and spacing them evenly from the side seams. Baste them in place within the seam allowance so they don’t shift.
Finally, assemble the bag by placing the outer bag (right side out) inside the lining (right side in), so right sides are facing each other. Match side seams and pin all around the top edge, making sure the straps are tucked down inside between the layers. Sew around the top edge completely. Then turn the bag right side out through the opening in the lining. Stitch the lining opening closed, tuck the lining inside the bag, and press the top edge carefully. Finish with a line of topstitching all the way around the top of the bag to secure everything and give a crisp, professional look. Now you have a sturdy, cheerful patchwork tote that’s perfect for everyday use — and every strip tells a little story from your fabric stash.