
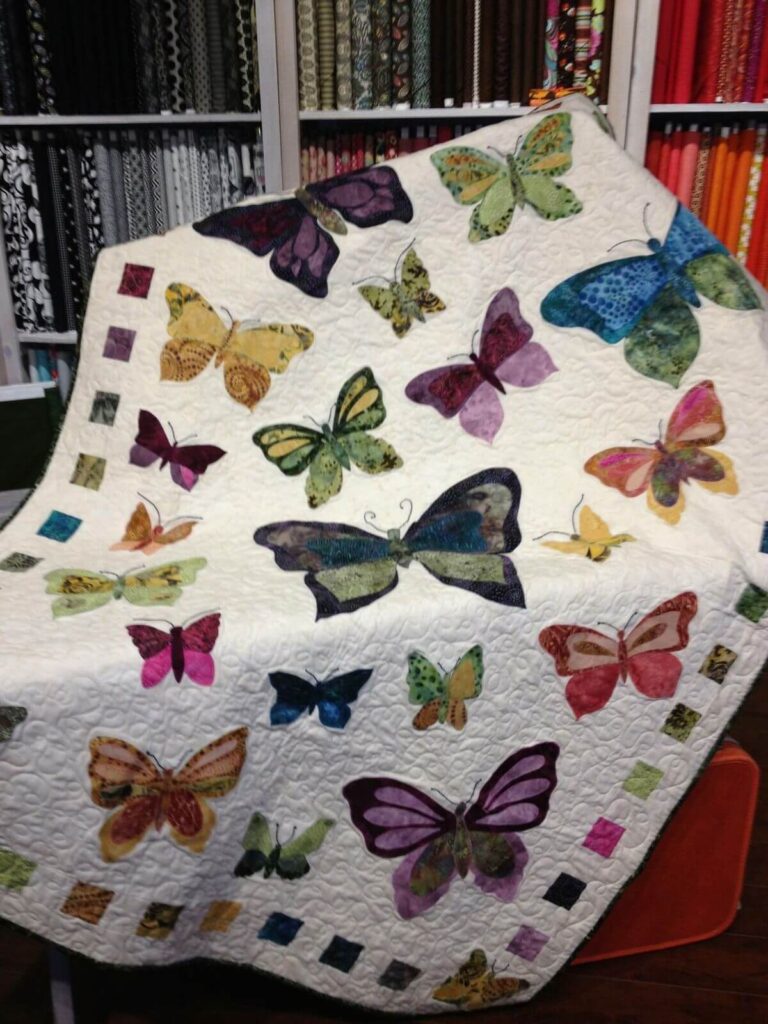
How to Make a Butterfly Patchwork Quilt
Making a butterfly patchwork quilt is a charming way to create a piece full of color, delicacy, and meaning. Besides being a rewarding craft project, the final result is perfect for decorating or giving as a gift.
Materials Needed
• Scraps of colorful fabrics (patterned or plain)
• Fabric for the background (base of the blocks)
• Acrylic or cotton batting
• Fabric for the lining
• Sewing machine
• Scissors
• Ruler and cutting mat
• Pins or clips
• Sewing thread
1. Cutting the Fabric Scraps
• Choose various fabrics to bring the butterflies to life.
• Cut out wing and body templates (you can draw or print a template).
• Cut the wings in pairs and the body from a contrasting fabric.
2. Assembling the Butterflies
• Position the wings and body on a square of base fabric.
• Sew or applique (you can use a straight stitch or zigzag stitch).
• If you prefer, use the patch applique technique for a more delicate finish.
3. Assembling the Blocks
• Each butterfly will form a block.
• Standardize the size of the squares (e.g., 20×20 cm).
• Make several blocks until you reach the desired size of the quilt.
4. Assembling the Quilt
• Join the blocks in rows.
• Then, sew the rows together to form the top of the quilt.
• Assemble the “sandwich”:
– Top (butterfly part)
– Batting
– Backing
• Pin well and quilt (decorative stitches to secure the layers).
5. Finishing
• Cut off the excess fabric.
• Finish with bias tape around the quilt.
• Iron the piece to give a flawless final touch.
Bonus Tip:
Mix vibrant colors with soft tones to create contrast and make the butterflies stand out even more!